
The tiny 0.96″ OLED display is a favourite for Arduino projects — it’s crisp, low-power and needs just two signal wires (I²C). In this guide you’ll print text and sensor values on it.
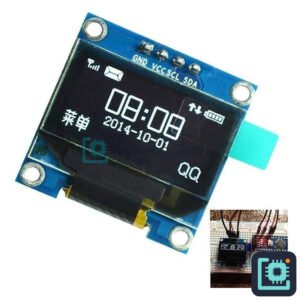
What you’ll need
- Arduino Uno R3 — drives the display
- 0.96″ OLED Display (I²C) — shows your text and data
- Jumper Wires — to connect it
Wiring (I²C)
- VCC→5V, GND→GND
- SDA→A4, SCL→A5 (on an Arduino Uno)
The Arduino code
Install the Adafruit SSD1306 and Adafruit GFX libraries from the Library Manager, then:
#include <Wire.h>
#include <Adafruit_GFX.h>
#include <Adafruit_SSD1306.h>
Adafruit_SSD1306 display(128, 64, &Wire, -1);

void setup(){
  display.begin(SSD1306_SWITCHCAPVCC, 0x3C);  // I2C address 0x3C
  display.clearDisplay();
  display.setTextSize(2);
  display.setTextColor(SSD1306_WHITE);
  display.setCursor(0,0);
  display.println("Arduino");
  display.println("Corner");
  display.display();
}
void loop(){ }
Change the text or feed it a sensor reading (e.g. temperature or distance) to build a live display.
Get the parts
Everything for this build is in stock at Smart Home | Arduino Corner — Shaheen Market, DAV College Road, Rawalpindi — with cash-on-delivery across Pakistan. Pick up a 0.96″ OLED and an Arduino Uno. Browse the store →