
A relay module lets a 5V Arduino switch real appliances — lamps, fans, pumps — on and off. It’s the gateway to home automation. This guide shows the safe, simple way to control a device with one relay.
What you’ll need
- Arduino Uno R3 — controls the relay
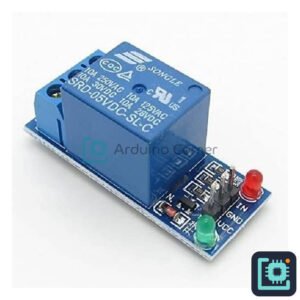
- 1-Channel Relay Module — switches your appliance
- 4-Channel Relay Module — to control up to four devices
- Jumper Wires — to connect it
How it works
A relay is an electrically-operated switch. A small 5V signal from the Arduino energises a coil, which flips a much larger switch inside — so your low-power Arduino can control a high-power device safely and with full isolation.
Wiring
- Relay VCC→5V, GND→GND, IN→D7.
- Wire the appliance’s live wire through the relay’s COM and NO terminals.
Safety: mains voltage is dangerous — get an adult/electrician to help, or practise with a low-voltage LED or DC fan first.
The Arduino code
int relay = 7;
void setup(){ pinMode(relay, OUTPUT); }
void loop(){
  digitalWrite(relay, HIGH);  // device ON
  delay(3000);
  digitalWrite(relay, LOW);   // device OFF
  delay(3000);
}
Swap the timer for a sensor (light, motion, temperature) to make it automatic — that’s real home automation.
Get the parts
Everything for this build is in stock at Smart Home | Arduino Corner — Shaheen Market, DAV College Road, Rawalpindi — with cash-on-delivery across Pakistan. Get a 1-channel or 4-channel relay module to start. Browse the store →